?")
Lifting vs. Rigging Equipment: What’s the Difference (and What You Actually Need)?
Lifting & Rigging Fundamentals
“Lifting” and “rigging” get used interchangeably on job sites—but they’re not the same. This guide breaks down the difference, shows common equipment examples, and links you directly to the right product categories on Lifting.com.
Quick definition: Lifting is the powered motion that raises/lowers a load (the crane/hoist/trolley/winch). Rigging is the gear and methods used to attach, balance, and control the load (slings, shackles, hooks, spreaders, and other below-the-hook hardware).
Industry terminology note:
In crane and overhead lifting, equipment is often grouped into above-the-hook (the lifting device that provides motion and power) and below-the-hook (the load-handling gear attached to the hook). This framing helps separate the lifting system from the rigging system that connects and controls the load.
Key takeaways
- Lifting equipment (above-the-hook) provides the force and motion to raise/lower loads (cranes, hoists, trolleys, winches, etc.).
- Rigging equipment (below-the-hook) connects the load to the lifting device and helps control the lift (slings, shackles, hooks, eye bolts, turnbuckles, spreader beams, and other rigging hardware).
- Blocks & pulleys are commonly treated as part of the rigging / below-the-hook setup because they manage the load line (direction, mechanical advantage, and control)—they don’t provide the powered lift on their own.
- Most incidents trace back to selection/inspection mistakes: wrong WLL, bad angles, side-loading, or damaged gear.
- If you’re unsure, start with the basics: confirm load weight, choose the correct sling type, then match hardware and lifting device capacity.
What “lifting” means
Lifting is the physical act of raising, lowering, or positioning a load using a device designed to provide controlled movement and power. Think: the equipment that does the lifting work—manual, electric, pneumatic, or hydraulic.
Typical examples: chain hoists, lever hoists, trolleys, and lifting devices used with cranes or overhead systems. If you want a deeper primer, see: What Is the Definition of a Hoist? and Types of Lifting Equipment.
What “rigging” means
Rigging is everything you do to attach, stabilize, and control the load so it can be lifted safely: selecting slings, choosing the right connectors (shackles/hooks/eye bolts), managing sling angles, and ensuring the load is balanced.
If you’re building a rigging checklist or training material, these are helpful reads: What is Rigging Equipment?, Three Types of Slings, and Main Types of Shackles (How to Choose).
Lifting vs. rigging equipment at a glance
| Category | What it does | Examples on Lifting.com | Common selection mistake |
|---|---|---|---|
| Lifting (above-the-hook) | Provides controlled motion and power to raise/lower/position the load. | Hoists & Pullers | Ignoring duty cycle, lift height, or the real load path (shock loading, side loading). |
| Rigging (below-the-hook) | Connects the load to the lifting device and helps stabilize/control the lift. | Slings Shackles Rigging Hooks Eye Bolts Turnbuckles |
Choosing gear by “looks” instead of WLL, angle factors, and correct connection geometry. |
| Blocks & pulleys (below-the-hook line management) | Manages the load line by changing direction and/or increasing mechanical advantage; often installed below the hook (especially snatch blocks). | Blocks & Pulleys | Forgetting line tension increases, mismatching sheave/rope size, or ignoring the full load path and anchor points. |
| Below-the-hook devices | Distributes load and improves stability/geometry (often used when sling angles or load damage risk is a concern). | Spreader Bars + Beams | Skipping headroom checks or using a beam where a different device is required for the pick. |
Pro tip: If you’re comparing sling options, this article is a good companion: What are the three types of slings?
How to choose the right gear (simple, field-friendly workflow)
- Confirm the load weight (don’t guess). This is a foundational rigging precaution: most important rigging precaution.
- Select the sling type based on surface protection needs, temperature, abrasion, and capacity.
- Match connectors to the sling + load attachment points (avoid side loading, ensure proper fit and pin security).
- Check sling angles (angle reductions matter) and ensure your rigging plan supports control and stability.
- Verify lift device capacity and configuration (duty cycle, power source, lift height, speed, environment).
- Inspect everything before the lift. A helpful reminder: first rule of rigging.
Shop the right categories (with quick “what to buy” guidance)
Slings
If you’re moving loads with a crane or hoist, the sling is often the first “make-or-break” decision. Choose based on the load surface, environment, hitch type (vertical/choker/basket), and required flexibility.
Need help choosing? Start here: Three types of slings.
Chain Slings
Chain slings are a go-to for tough environments (heat, sharp edges, dirty conditions) where durability matters. They’re also highly configurable for multi-leg bridle rigging and field-adjustments.
Related read: How chain slings compare to wire rope & synthetic.
Wire Rope Slings
Wire rope slings balance strength and abrasion resistance, making them a staple for industrial lifting. They’re commonly used in vertical, choker, and basket hitches—especially when synthetic protection isn’t required.
If your lift needs multiple pick points, consider bridle configurations from the wire rope family and match hardware carefully.
Synthetic Slings (Nylon & Polyester Web Slings)
When you need surface protection and easy handling, synthetic slings are often the best first look. They’re lightweight, flexible, and ideal for finished loads—just be mindful of edge protection and cut/abrasion risks.
Best add-on: use the right shackle profile to reduce sling wear: Synthetic Sling Shackles. For more background: Overview of Synthetic Lifting Slings.
Shackles
Shackles connect slings, hooks, and lifting points—simple parts with big consequences. The right shackle reduces risk from side-loading, poor fit, and unintended pin rotation (especially on critical picks).
Start here if you’re comparing styles: The 3 main types of shackles (how to choose).
Rigging Hooks
Hooks are where loads get connected fast—so choose by WLL, throat size, latch type, and compatibility with your sling/hardware. For high-cycle or higher-risk lifts, self-locking hooks can add an extra layer of security.
Looking for enhanced retention? Self-Locking Hooks.
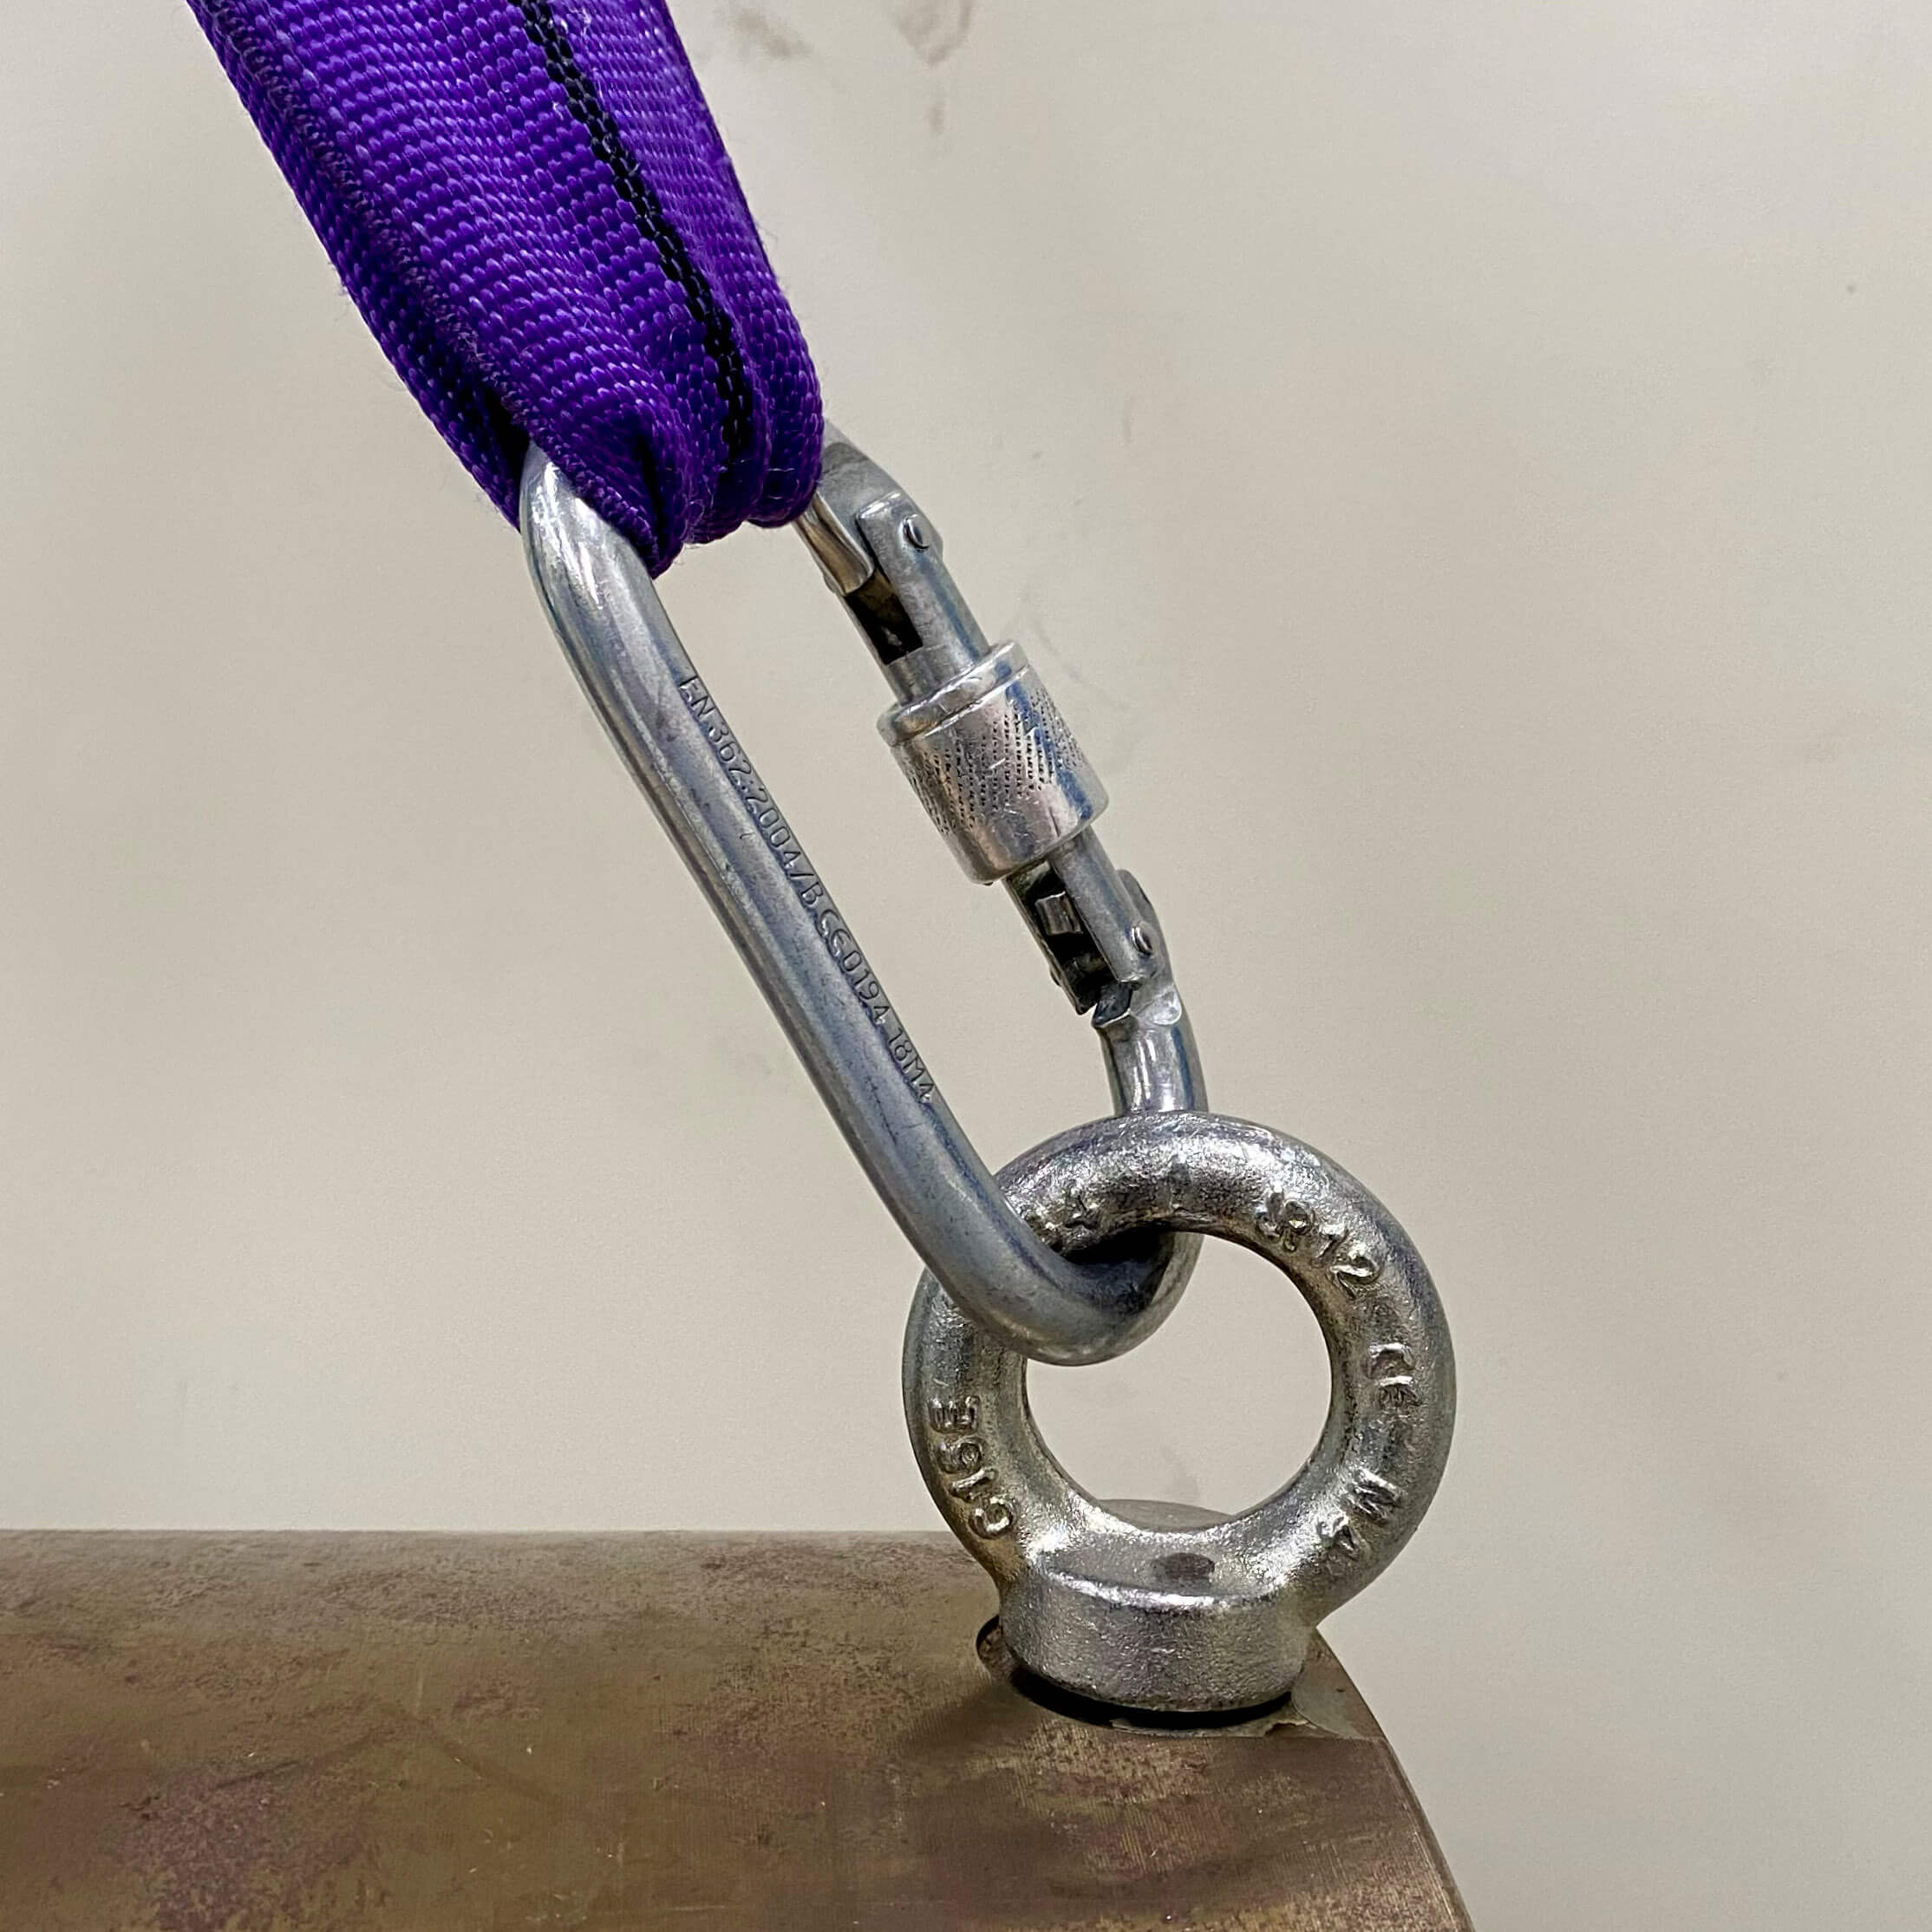
Eye Bolts
Eye bolts create lift points—great when used correctly, risky when used incorrectly. Pay attention to shoulder type, installation, and angle loading reductions (angular lifts can reduce capacity significantly).
Recommended read: Understanding Eye Bolts: 5 Factors to Consider.
Turnbuckles
Turnbuckles are tensioning and alignment tools—ideal for straight, in-line adjustments when you need precision. Choose the configuration (eye/eye, jaw/jaw, jaw/eye) to match your connection points and avoid side loading.
If you’re building a rigging system, treat turnbuckles as a “fit + geometry” decision—not just a capacity number.
Spreader Bars + Beams
Use a spreader bar/beam when sling angle control, load protection, or stability is the priority—especially on wide, long, flexible, or multi-pick loads. Always confirm headroom requirements and rigging geometry.
Learn when to use one: When should a spreader bar be used for lifting? | What does a spreader bar do?
Blocks & Pulleys (including Snatch Blocks)
Blocks and pulleys are commonly used as below-the-hook line-management tools: they change direction, manage the load line, and can increase mechanical advantage in lifting and pulling systems. Snatch blocks are especially useful when you need a side-opening design for fast installation and redirects.
Step-by-step guide: How to Use a Snatch Block Safely.
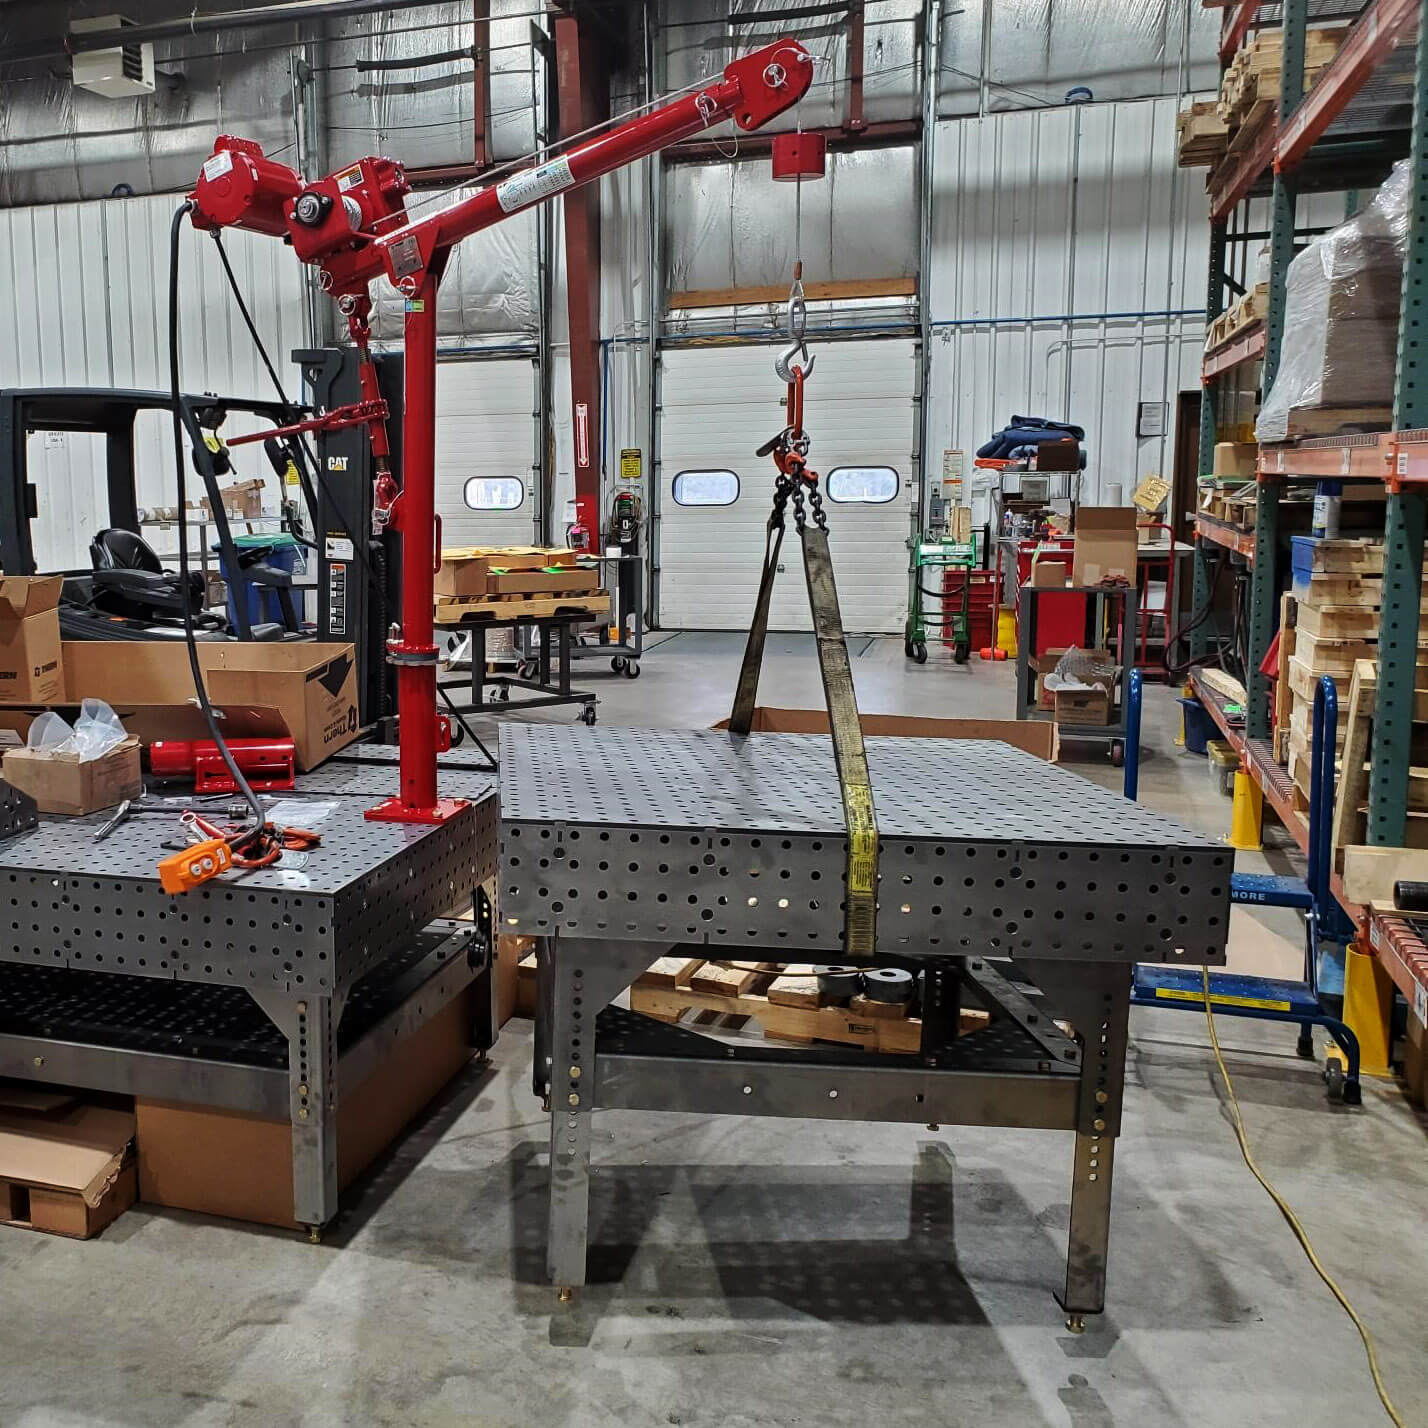
Hoists & Pullers
Hoists provide controlled vertical lifting—manual for simplicity, electric/pneumatic for production demands. Match hoist type to duty cycle, lift height, speed, environment, and how the load will be attached and guided.
Helpful primer: What is the definition of a hoist?
Common mistakes to avoid
- Skipping inspection: Damaged slings, worn hooks, bent shackles, and compromised pins should be removed from service.
- Side loading hardware: Shackles, eye bolts, and turnbuckles generally want straight, in-line loading to perform as rated.
- Ignoring sling angles: As the angle decreases, tension increases—capacity can drop fast.
- Improper connection sizing: A mismatch (too small/too large) can cause point loading, distortion, or unintended rotation.
- Choosing “lifting” tools for access work: Keep this article focused on lifting/rigging gear (hoists/slings/hardware)—not MEWPs like boom lifts or man lifts.
Not sure what you need for your lift?
Start with the basics: pick your sling type, then match connectors and lifting device capacity to the real load and lift geometry. You can also browse the categories below to get to the right options faster.
Related reading
Note: Always follow applicable standards, manufacturer instructions, and site-specific lift plans. When in doubt, consult a qualified rigger/engineer for critical lifts.
What Is an Eye Bolt Used For?
Apr 3rd 2026
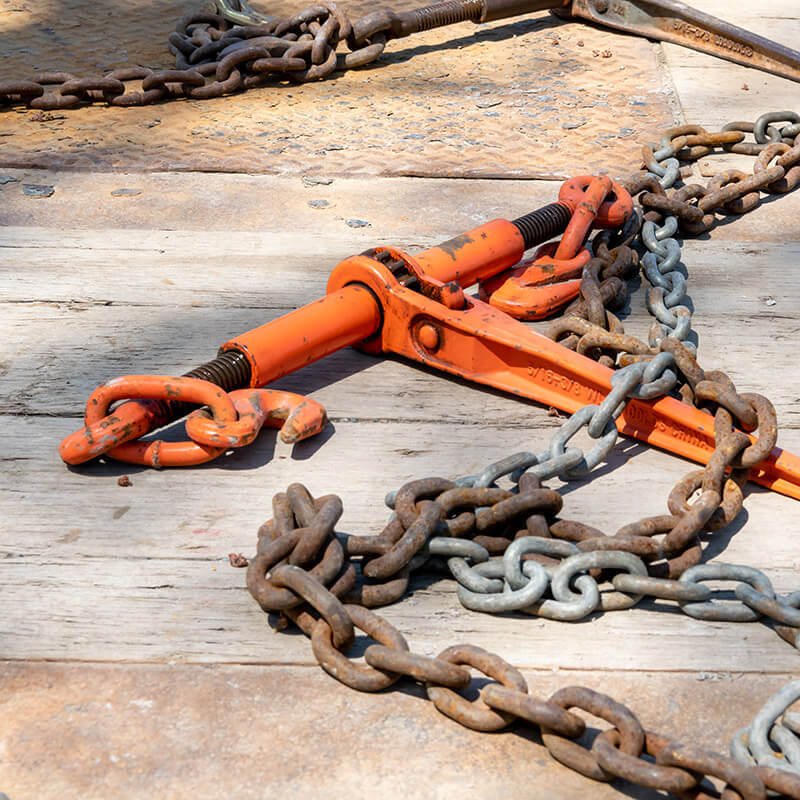
How to Determine Chain Binder Size
Mar 30th 2026
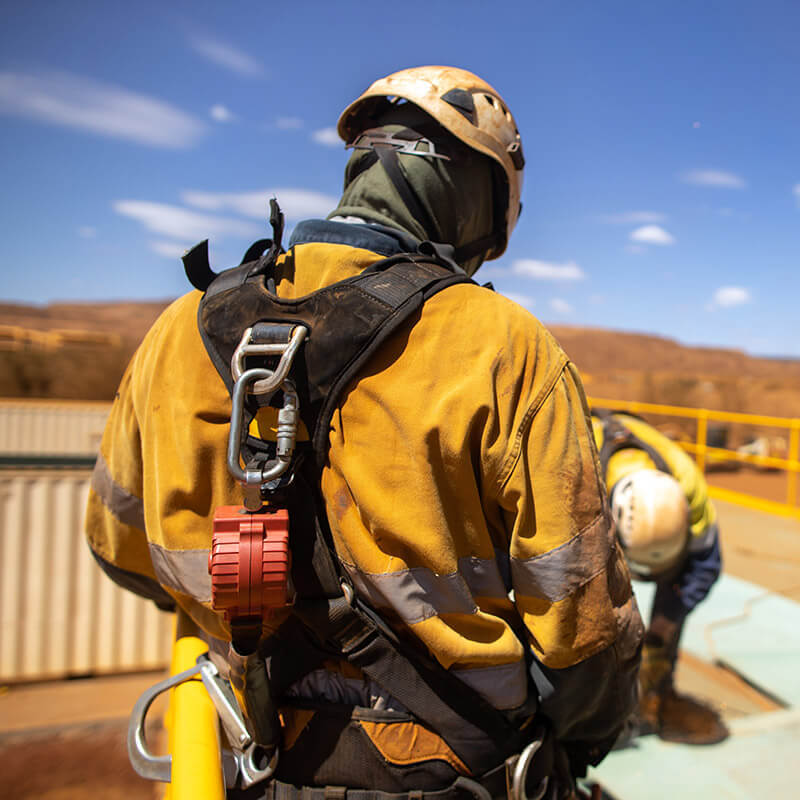
Is a Safety Harness Considered Fall Protection?
Mar 16th 2026
What Is the Difference Between a Gantry Crane and a Davit Crane?
Mar 13th 2026

Do Lifting Chains Need to Be Certified?
Mar 10th 2026

What Type of Chain Is Used for Overhead Lifting?
Mar 6th 2026
Essential Equipment Used in Logging (The Gear That Actually Moves Wood)
Mar 4th 2026

Ratchet vs. Lever Chain Binders: Which Is Better for Your Load?
Mar 2nd 2026
Lifting vs. Rigging Equipment: What’s the Difference (and What You Actually Need)?
Feb 24th 2026