
When Should a Spreader Bar Be Used for Lifting?
A spreader bar (often called a spreader beam in product catalogs) is used when you need to control sling angles, protect the load, and stabilize a lift—especially on long, flexible, or multi-pick loads.
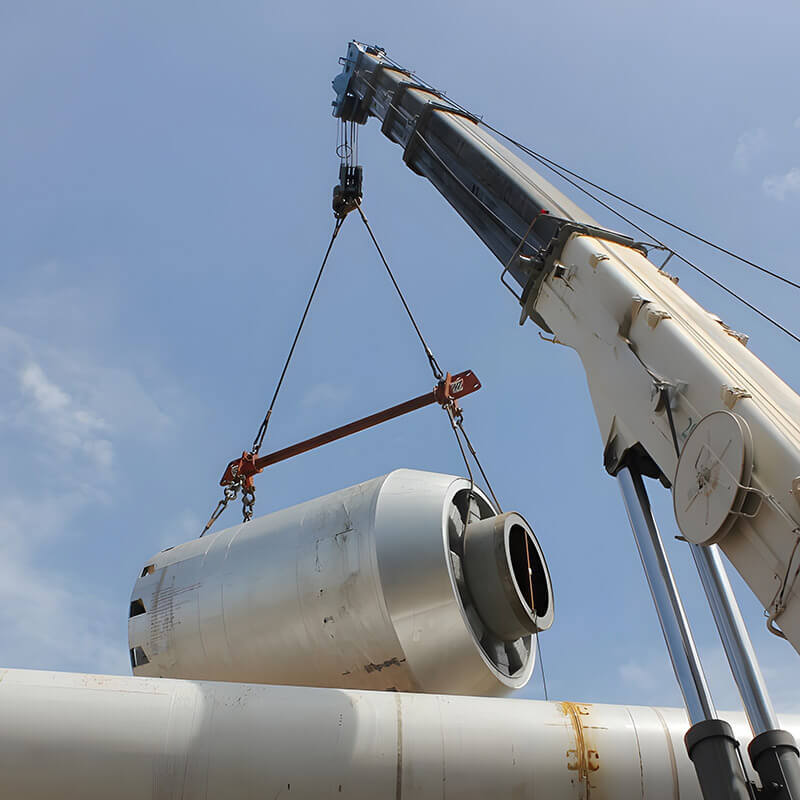
Quick Decision: Use a Spreader Bar When…
- You need wider sling separation to reduce sling loading from tight angles.
- The load is long, flexible, or prone to bending (pipe, panels, frames, assemblies).
- You’re lifting from multiple pick points and want a more stable, predictable lift.
- You need to protect the load from compression or damage caused by inward sling force.
- You want to reduce rigging wear caused by severe angles or contact points.
What a Spreader Bar Actually Changes (In Plain Terms)
Without a spreader bar, slings often pull inward toward the hook. That inward force can increase stress on rigging, pinch or distort the load, and make the lift harder to control. A spreader bar creates distance between top rigging points so the lift is supported at a more favorable geometry.
When a Spreader Bar Might NOT Be the Best Choice
- Headroom is limited. A lifting beam may be a better fit because it can provide load control with less vertical rigging height.
- Single pick point loads that don’t benefit from sling separation or multi-point control.
- Unknown rigging conditions. If the lift plan isn’t engineered, pause and verify pick points, sling angles, and WLLs first.
Common Real-World Scenarios Where Spreader Bars Shine
Safety Checklist Before You Lift
- Confirm WLL for every component in the system: beam/bar, top rigging, slings, and shackles.
- Inspect contact points (lugs, pins, shackles, hooks) for wear, deformation, or damage.
- Verify sling angles and avoid severe angles that can multiply loading.
- Use rated, compliant equipment for below-the-hook lifting devices and follow your lift plan.
- Train and document. For engineered lifts, ensure documentation and inspection records are current.
Shop Related Categories (Recommended for This Application)
These are the categories most customers use alongside engineered spreader-bar lifts. Each block includes a quick “what to buy” summary to help you move from planning to purchase.
- Fixed beams for repeat lifts
- Adjustable beams for varying spans
- Components for custom builds
- Better fit for limited headroom
- Stable control for many industrial loads
- Flexible, configurable span
- Strong option for heavy-duty and project work
- Modular “build-to-length” approach
- Great for facilities with recurring lift geometries
- Choose the right sling type for abrasion/heat
- Confirm length to maintain favorable angles
- Confirm pin size and proper seating
- Avoid side-loading unless rated/approved
Related Articles (More Rigging Guidance)
Not Sure Which Configuration You Need?
If you share your load weight, pick points, required span, and headroom, our team can help point you toward the right category—fixed, adjustable, modular, or lifting beam alternatives.
Start with Spreader Bars + Beams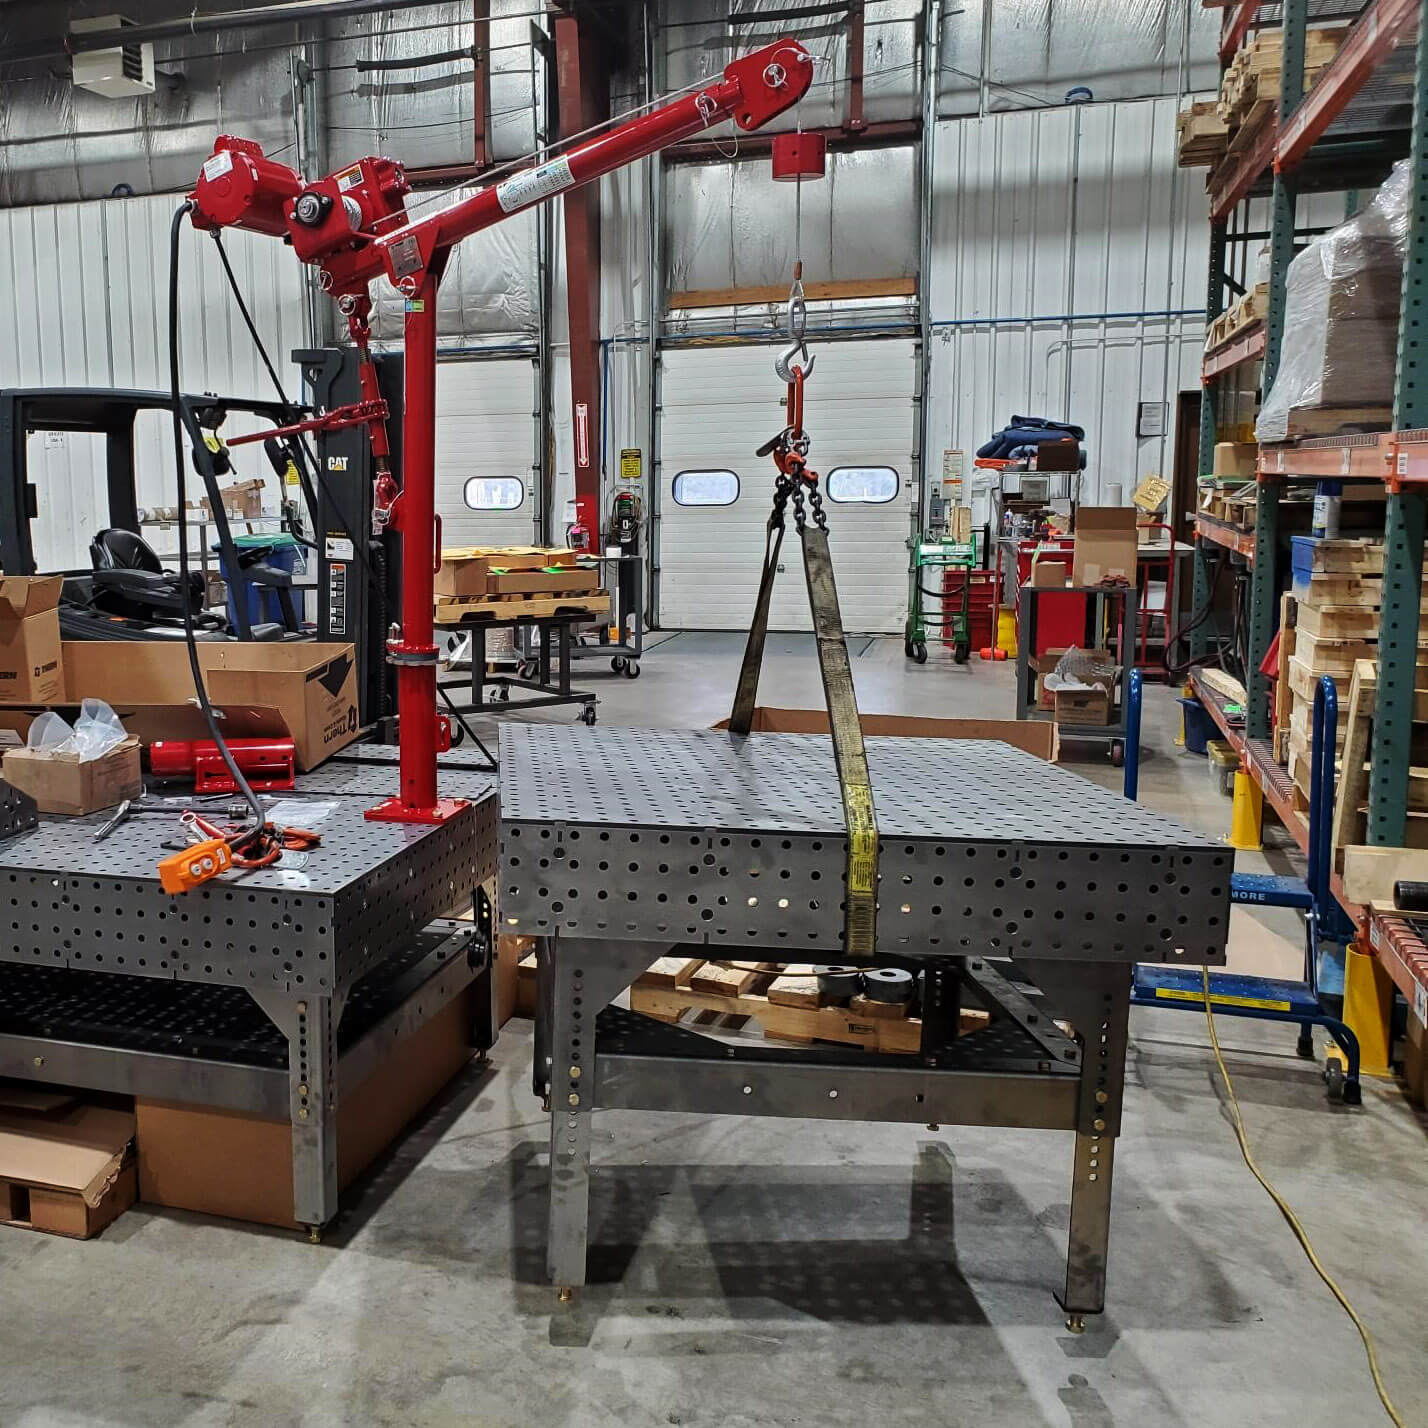
What Is the Difference Between a Gantry Crane and a Davit Crane?
Mar 13th 2026

Do Lifting Chains Need to Be Certified?
Mar 10th 2026

What Type of Chain Is Used for Overhead Lifting?
Mar 6th 2026
Essential Equipment Used in Logging (The Gear That Actually Moves Wood)
Mar 4th 2026

Ratchet vs. Lever Chain Binders: Which Is Better for Your Load?
Mar 2nd 2026
Lifting vs. Rigging Equipment: What’s the Difference (and What You Actually Need)?
Feb 24th 2026

The Complete Buyer’s Guide to Overhead Cranes
Feb 13th 2026
Which Pulley Can Lift Heavy Loads?
Feb 11th 2026
When Should a Spreader Bar Be Used for Lifting?
Feb 3rd 2026